Frontend - configuration
Introduction
When templates are configured in the Admin Console, they can be configured in the frontend so users can create projects.
For your users to create and manage projects, you want to set up three things
- The Content Store
- Projects
- Project Outputs
There are three widgets available. These can be placed on a single page, although it is recommended to create separate pages for each section.
1. The Content Store
The Content Store is the storefront where end-users browse templates and start new projects. Admins place the GraFx Content Exploration widget on a page and decide which templates appear, which filters are available, and who can use which templates.

There are some prerequisites:
- Templates exist and are Active (Admin Console → Templates).
- Relevant Fields are created and flagged Used on template (e.g., Template Type as a select; Template access as a user group).
- User groups are set up, and users are assigned to the right groups.
- (Optional) Templates have thumbnails to look good in the grid.
1.1. Setting up the Content Store

- Create a page on which the templates will be listed. You can add content, such as text and images to provide some context about the templates.
- Add the GraFx Content Exploration widget to the page.
- Click the widget, and open the settings panel to configure the widget.
1.2. Settings

-
Component mode: For now, only “templates” can be selected
Filter Fields: Define which fields will be shown as filter options. These can be both user groups and select type fields.
-
Only fields flagged as used on template are available here.
Field visibility: Define which fields are shown on the template cards
Templates view permissions: These define which templates are loaded in the content store for each user. When no permissions are set, users will see all templates that don’t have any user groups assigned in the template configuration.
- Click Add row for each rule, then set:
- User group → e.g., Content Manager, Basic User.
- Template field permissions → the user group–type field that controls access (e.g., Template access).
- How it works: a user in Content Manager sees templates where the template’s Template access field includes Content Manager. No match = no visibility.
-
Once all settings are configured, click Save and then Save & Publish the page to make it live.
1.3. Troubleshooting
“I don’t see any templates.”
- Check that the template is Active.
- Verify the user belongs to a User group that’s mapped in Templates view permissions.
- Ensure the template’s user group field (e.g., Template access) actually contains that group.
- Confirm the page is Published.
Filters don’t show.
- Make sure the chosen fields are used on template
- Confirm Field visibility = Search in the modal.
2. GraFx Projects
On the Projects page, all projects are listed. By default, users see their own projects on the “My projects” tab. Depending on the GraFx Projects widget configuration, other users' projects will be visible in the “All projects” tab.

2.1. Setting up the Projects page

- Create a page on which the projects will be listed. You can add content, such as text and images to provide some context about the projects.
- Add the GraFx Projects widget to the page.
- The GraFx Projects widget has a customizable empty state.
- Add example images
- Add text (eg. which steps to create a project)
- Add links to relevant information or directly to the Content Store
- Click the widget, and open the settings panel to configure the widget.
Once the widget is placed and configured, the projects page will feature a ‘My projects’ section, an ‘All projects’ section, a section with all downloads requested by a user and a section to create lists. By default, a ‘Favorites’ list is available, this list can not be removed.
2.2. Settings

- Filter Fields:
- Select which metadata fields users can filter projects by (e.g., Template Type).
- Only fields marked Used on project will appear in this list.
-
Adding filter fields allows users to quickly narrow down their project list.
Card Fields:
- Choose which field values will appear on the project cards (e.g., Template Type).
- Only fields marked Used on project will appear in this list.
-
This helps users easily recognize the purpose or category of each project in the overview.
All Projects Permissions:
Define which user groups can view which projects.
Each permission rule links a user group to a project-level field (typically Template access).
Click Add row for each rule:
- User group → e.g., Content Manager, Basic User.
- Project field permissions → e.g., Template access.
-
How it works: When a user is part of a certain user group, they’ll only see projects where that same user group is included in the linked permission field (e.g., Template access).
Empty State: If a user has no projects (or no visible projects), a custom message can be displayed.
- Title → the main headline shown in the empty view.
- Note text → supporting message, e.g., “You haven’t created any projects yet.”
- Note link URL → add a link to direct users to another page (e.g., “Go to Templates”).
- Note link text → the text for the clickable link (e.g., “Create your first project”).
Once all settings are configured, click Save and then Save & Publish the page to make it live.
2.3. Troubleshooting
“I don’t see any projects.”
- Confirm the user belongs to a group that matches the project’s access field.
- Ensure the Template access field is correctly configured and linked to the project.
- Check that the page is published.
Filters don’t appear.
- Verify that selected fields are Used on project and of a supported type (select or text).
Empty message not visible.
- Make sure the Empty state fields are filled in and saved.
3. Production Outputs
The Production Outputs page is created for two key audiences:
- End-users who want to track the status of their finalized projects.
- Production partners who manage fulfillment and update production statuses.
This page displays all outputted projects visible to the logged-in user, based on configured permissions.

3.1. Setting up the Production Outputs page

- Create a page on which the production outputs will be listed. You can add content, such as text and images to provide some context about the projects.
- Add the GraFx Production Outputs widget on the page.
- Click the widget, and open the settings panel to configure the widget.
3.2. Settings
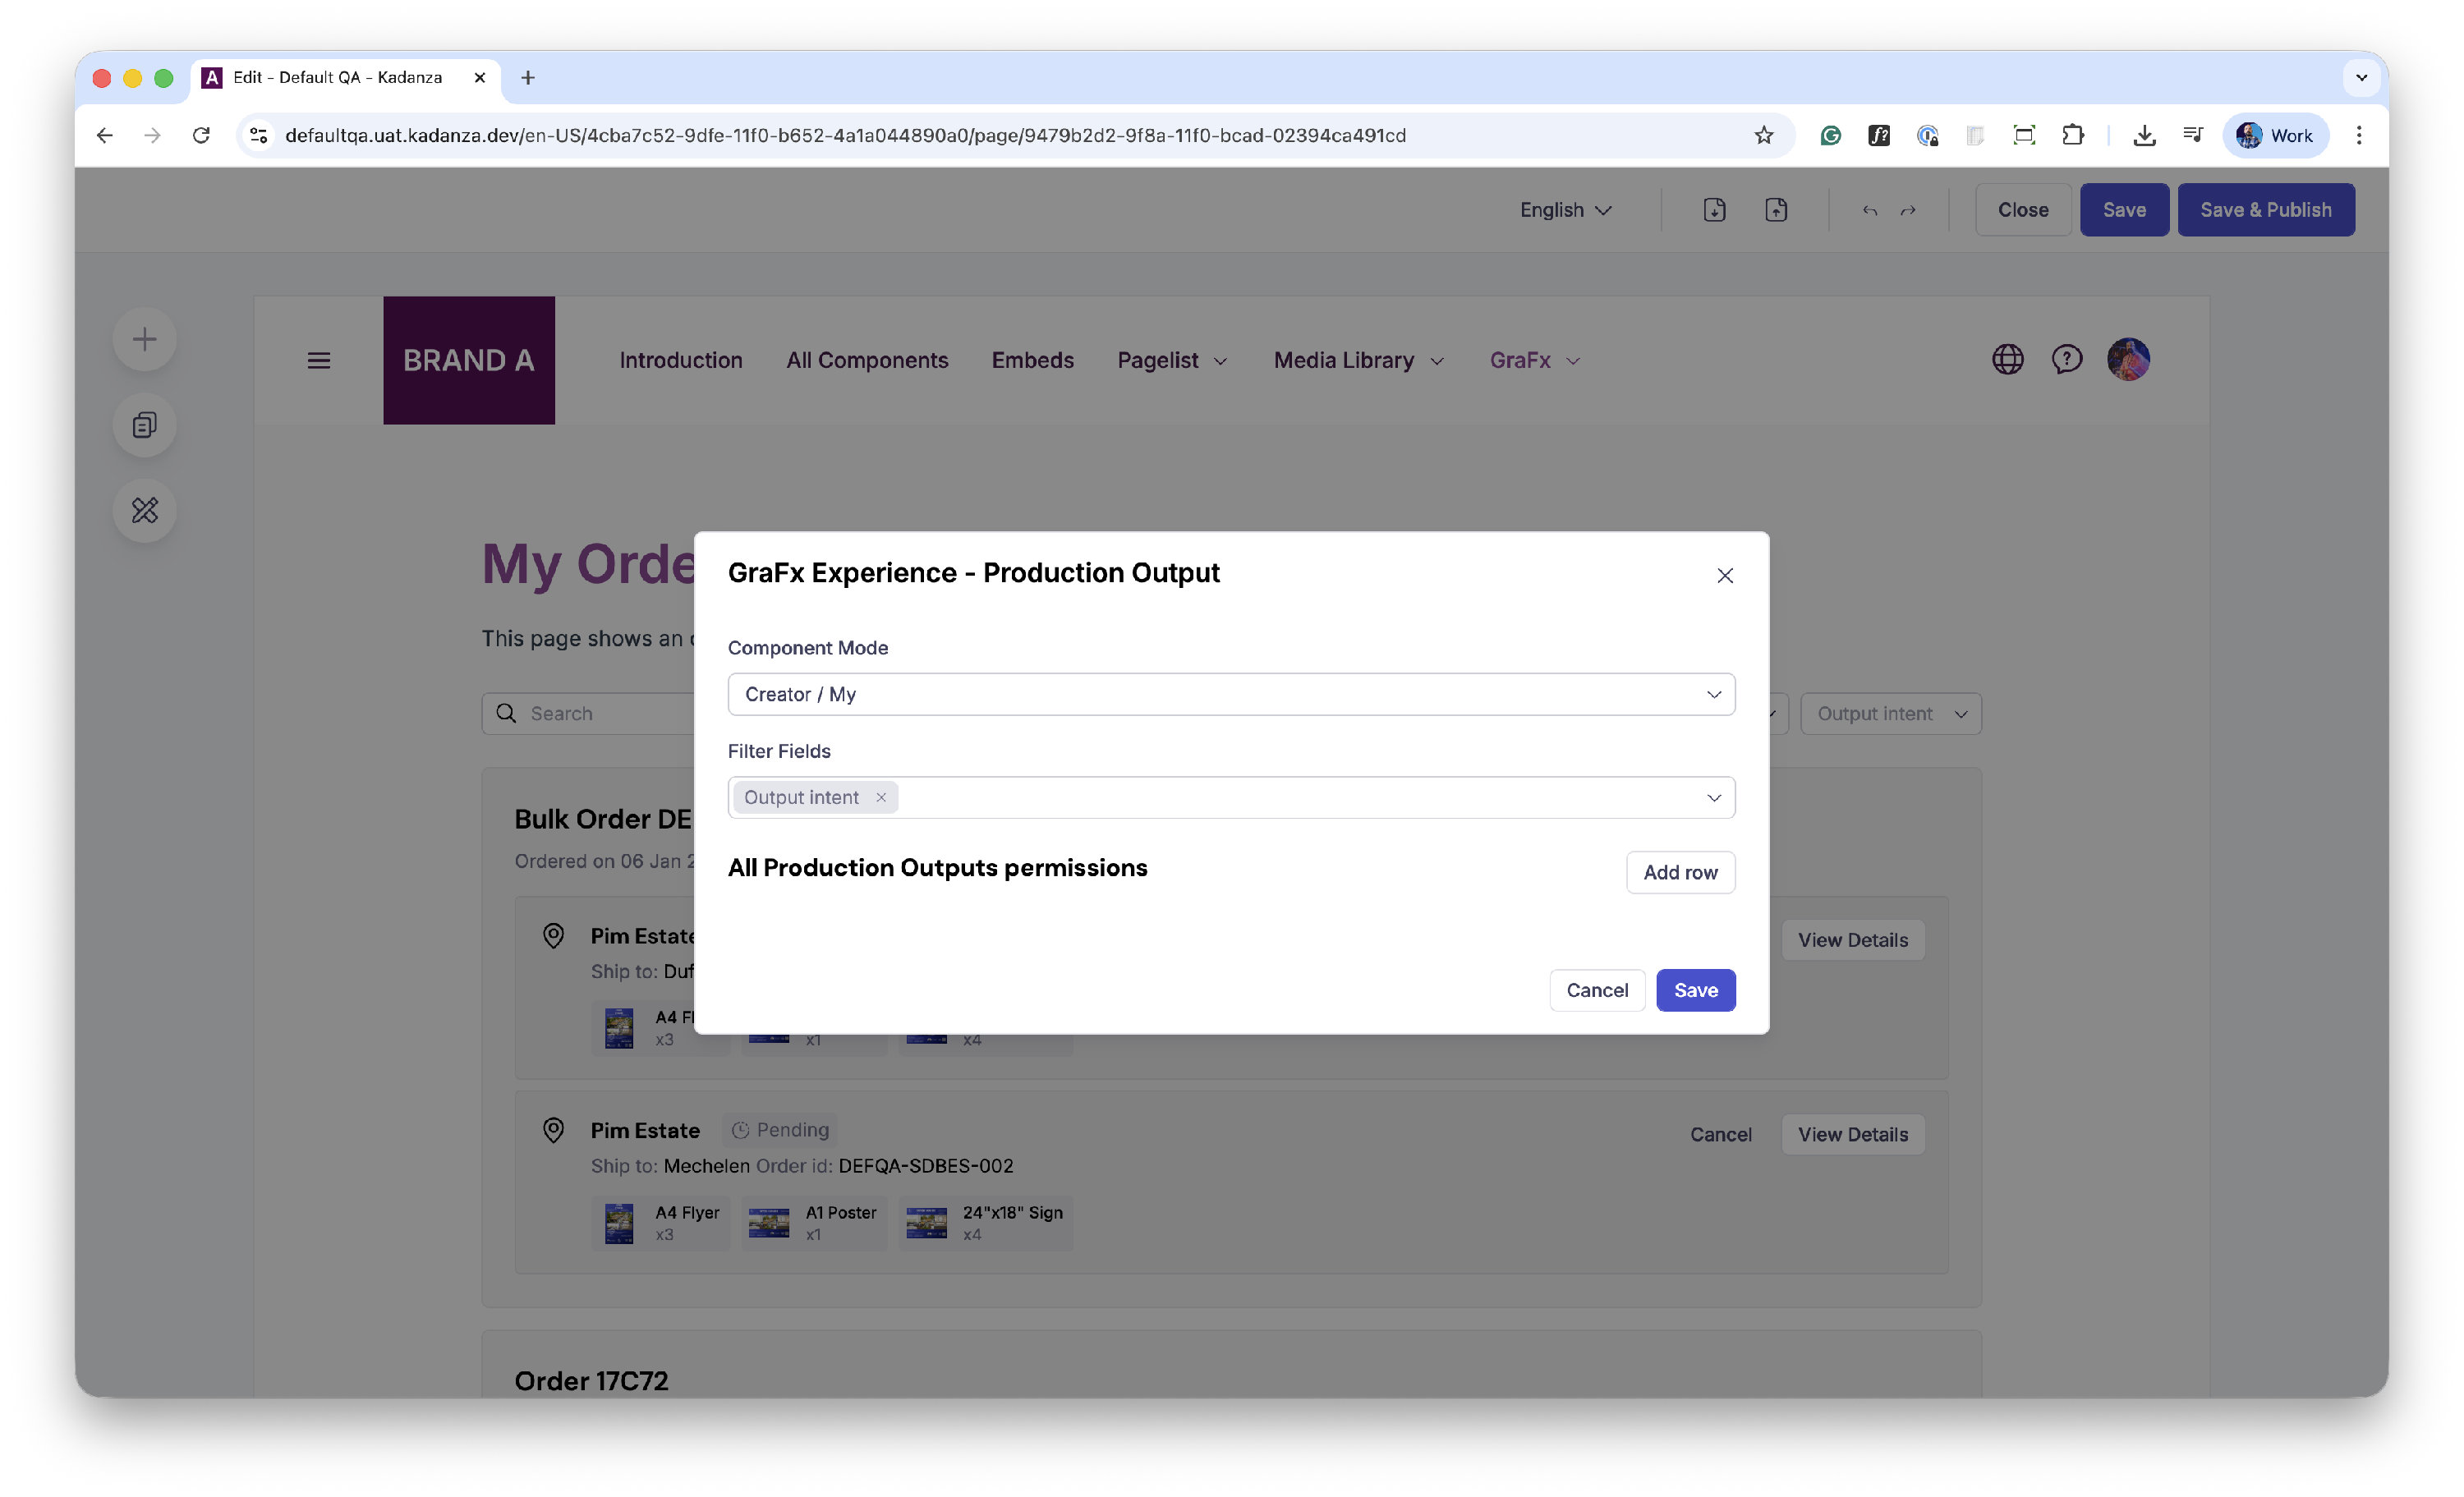
- Component mode: the same component is used to see the users' order history and the print partners order list.
- “Creator / My” is used to create an overview of al orders a user made
- “Production channel” is used to create a list of orders assigned to a printer. Use this mode on a print jobs page that is accessible for the printers.
- All Production Outputs Permissions
- Define which user groups can view specific production outputs.
- Each rule connects a user group to a permission field defined on the production output
To configure permissions:
- Click Add row. For each rule, set:
- User group → e.g., Content Manager, Printer Operator, Basic User.
-
Production Output field permissions → the field that controls which outputs the group can access (e.g., Template Access, Production Access).
Add additional rows for more permission mappings as needed.
How it works:
- Each production output has a field (usually a user group type field) that defines which groups can see it.
- Users only see outputs if their user group matches at least one entry in that field.
Once all settings are configured, click Save and then Save & Publish the page to make it live.
3.3. Troubleshooting
“I don’t see any outputs.”
- Check if the user’s group is linked to any production outputs via the configured permission field.
- Ensure the Production Output field used in permissions is marked as Used on production output.
- Confirm that the page is published and the outputs exist in the system.
“Production partner can’t update statuses.”
- Verify that the partner’s user group has edit permissions on the output or relevant field.
- Check if the output status field is correctly mapped to editable roles.